
- Education
- Diamond Anatomy & Light
- Radiant Cut Ideal Proportions Chart: Depth, Table, Ratio and Light
Diamond Anatomy & Light
Radiant Cut Ideal Proportions Chart: Depth, Table, Ratio and Light
A radiant's facets can return bright, lively light or leak it out as dark centres and glassy windows, and the numbers on the grading report tell you which. Here are radiant cut ideal proportions in one chart, and how to check them by eye.
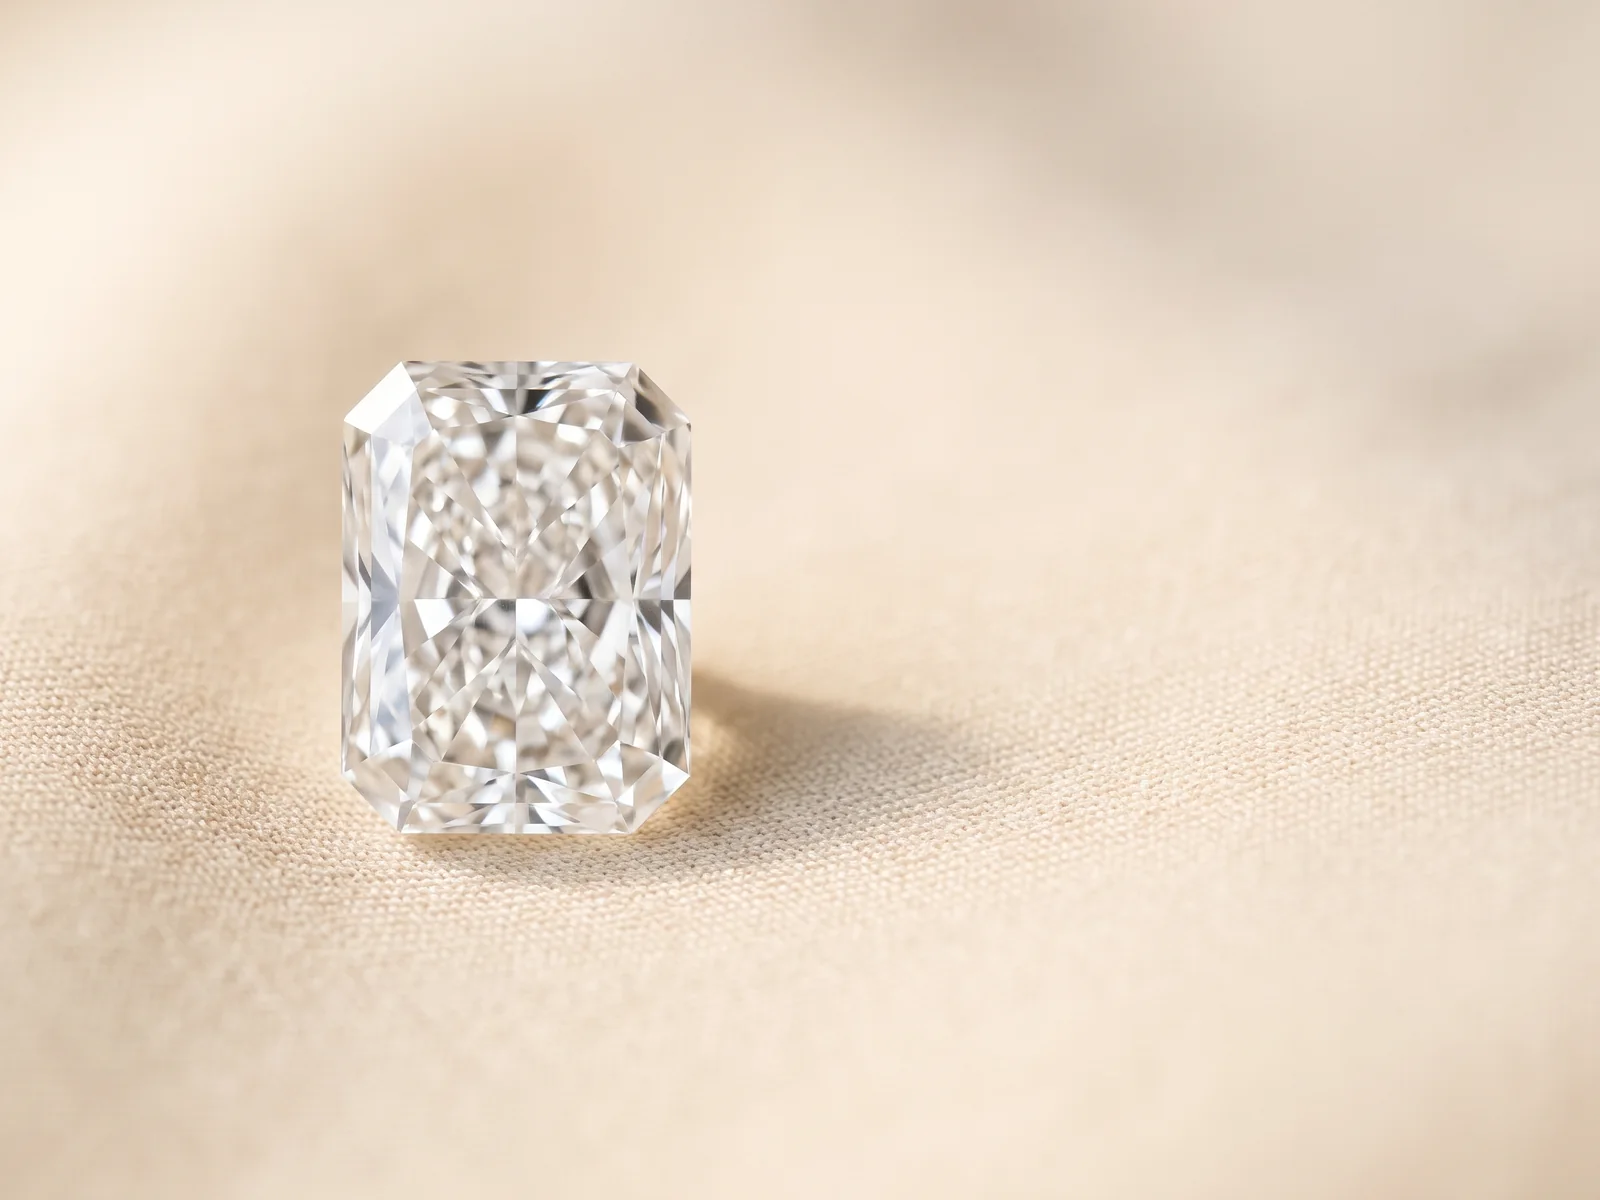
 Reviewed by Raj Sood, Graduate Gemologist (GIA), AJP (GIA)Master jeweller and Graduate Gemologist (GIA) · reviewed 4 November 2026
Quick answer
Radiant cut ideal proportions are a total depth of about 61–67% and a table of about 61–69% of the width, a thin to slightly thick girdle, no culet and Excellent or Very Good polish and symmetry. Choose a ratio of 1.00–1.05 for a square or 1.20–1.35 for a rectangle, and check video for dark centres, windows and fisheye.
What are the ideal proportions for a radiant cut diamond?
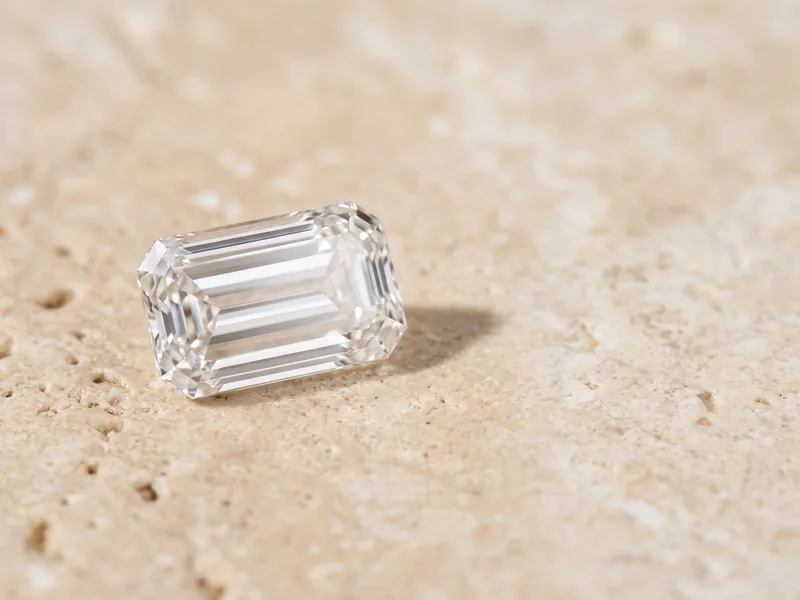
A radiant is a square or rectangular diamond with clipped corners and brilliant-style faceting on both the top (the crown) and the bottom (the pavilion). Most have about 70 facets. It was designed to combine the clean outline of an emerald cut with the sparkle of a round brilliant, and our complete guide to radiant cut diamonds covers its history, looks and settings. This page is about the numbers underneath that look.
Proportions are the measurements that describe how a diamond is built in three dimensions: total depth, table size, crown height, pavilion depth, girdle thickness and culet. If those words are new, our page on the table, crown, girdle, pavilion and culet explained is a good first stop. The main ones (total depth, table, girdle and culet) appear on a grading report from a lab such as GIA or IGI, with depth and table given as a percentage of the stone's width.
Here is the catch. GIA gives round brilliants an overall cut grade, but for fancy shapes like the radiant it grades only polish and symmetry. There is no official "ideal" radiant. The ranges in this guide are trade guidelines that gemmologists use because stones inside them tend to look bright and lively, while stones well outside them tend to show the light faults described below.
Why do the numbers matter so much? Diamond has a refractive index of about 2.42, which gives it a critical angle of roughly 24.4°. Light that strikes the inside of a pavilion facet at more than that angle from the perpendicular reflects back up towards your eye; light that strikes it closer to the perpendicular passes straight out the bottom and is lost. Depth and facet angles decide which happens. Diamond is also 10 on the Mohs hardness scale, so the polish holds those angles crisply for a lifetime.
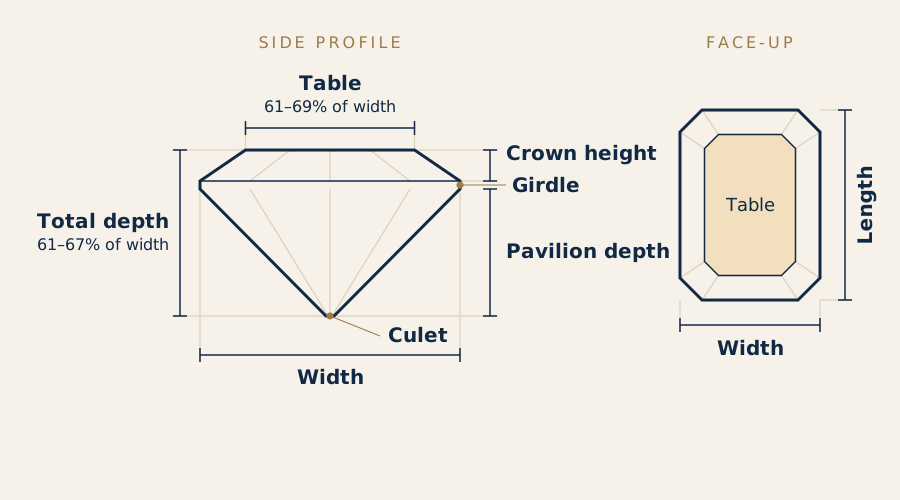
Radiant cut ideal proportions chart: depth, table and girdle
Use this chart as a filter. Stones in the first column are worth a closer look; stones in the last column usually show a visible problem, whatever the colour and clarity grades say.
| Measurement | Ideal range | Acceptable | Be cautious |
|---|---|---|---|
| Total depth | 61–67% | 58–61% or 67–72% | Under 58% (windows, fisheye) or over 72% (dark centre, small face-up) |
| Table | 61–69% | 57–61% or 69–73% | Over about 73% (low crown, less fire) |
| Girdle | Thin to slightly thick | Very thin or thick | Extremely thin (chipping) or very thick (hidden weight) |
| Culet | None | Very small | Medium or larger (a visible dot) |
| Polish | Excellent | Very Good | Good or lower |
| Symmetry | Excellent | Very Good | Good or lower; check the outline by eye |
Total depth is the height from table to culet divided by the width. It is the single most useful number on a radiant report. Too shallow and light runs straight through; too deep and it escapes out the sides, while extra weight sits hidden underneath where you cannot see it.
Table is the large flat facet on top, also given as a percentage of width. A larger table gives more brightness (white light) but usually means a lower crown, so you see less fire, the coloured flashes. Depth and table work together: a radiant at 66% depth with a 64% table behaves very differently from one at 66% depth with a 72% table, so never judge one number alone.
Girdle is the thin edge around the outline. Radiants are forgiving here because the clipped corners remove the sharp points that chip on a princess cut, as our page on why the radiant's clipped corners matter explains. Still, an extremely thin girdle at the corners is worth avoiding, and a very thick girdle adds carat weight without adding face-up size.
Depth also shapes the faceting look. Deeper radiants, especially those above about 66%, more often show a busy, fragmented sparkle, while shallower ones tend towards larger, bolder flashes. Our guide to crushed-ice and brilliant facet patterns in radiants shows the difference with examples.
To see what depth does to size: a 1 carat square radiant at about 64% depth faces up around 5.7 × 5.7 mm, while the same weight at 72% depth faces up nearer 5.5 × 5.5 mm, closer to what you would expect from a stone of about 0.9 carat. If you are leaning towards a square outline, square radiants and their typical sizes covers this in more depth.
What length-to-width ratio should a radiant cut have?
The length-to-width ratio is the length divided by the width, taken from the report's measurements. It does not affect light return as directly as depth, but it changes where light faults appear, so it belongs in the same check.
| Ratio | How it looks | What to watch |
|---|---|---|
| 1.00–1.05 | Square | Looks crisp; close to an Asscher outline but brilliant-faceted |
| 1.05–1.15 | Nearly square | Can look accidentally uneven rather than clearly square or rectangular |
| 1.20–1.35 | Classic rectangle | The most common choice for engagement rings |
| 1.35–1.50 | Elongated | Check the ends for dark extinction zones |
| Above 1.50 | Very long and narrow | A personal style; light faults at the ends are more likely |
Elongated radiants are more likely to show dark zones at each end, because the facets there are stretched and meet light at awkward angles. Our guide to elongated radiants above 1.35 covers how cutters manage that, and the radiant ratio guide with outlines at each ratio shows how each looks on the hand.
At the square end, many people compare a 1.00 radiant with an Asscher, which is step-cut rather than brilliant-cut. The Asscher versus square radiant comparison explains why the radiant hides inclusions and body colour better.
How do proportions control light in a radiant diamond?
Almost every light fault in a radiant comes back to two things: pavilion depth (and the angle of the pavilion facets) and how the crown and table share the top of the stone. These are the five faults to know, each defined in our jewellery glossary of cutting terms too.
- Windowing: a glassy, see-through area in the centre. The pavilion is too shallow, so light passes straight through. Usually seen at total depths under about 58–60%.
- Fisheye: a greyish-white ring or rectangle inside the table. It is the reflection of the girdle, seen when the pavilion is very shallow. It is a more severe form of windowing.
- Nailhead: a dark centre, like looking down on the head of a nail. The pavilion is too deep or steep, so light hits the far side at the wrong angle and leaks out the side of the stone. Common at depths above about 70–72%.
- Extinction: dark areas that do not return light. A little extinction moving around the stone gives contrast and is normal. Large patches that stay dark, often under the corners or at the ends of elongated radiants, are a cutting fault.
- Bow-tie: a dark band across the middle. It is the classic fault of ovals and pears, but radiants above about 1.35 can show a mild version.
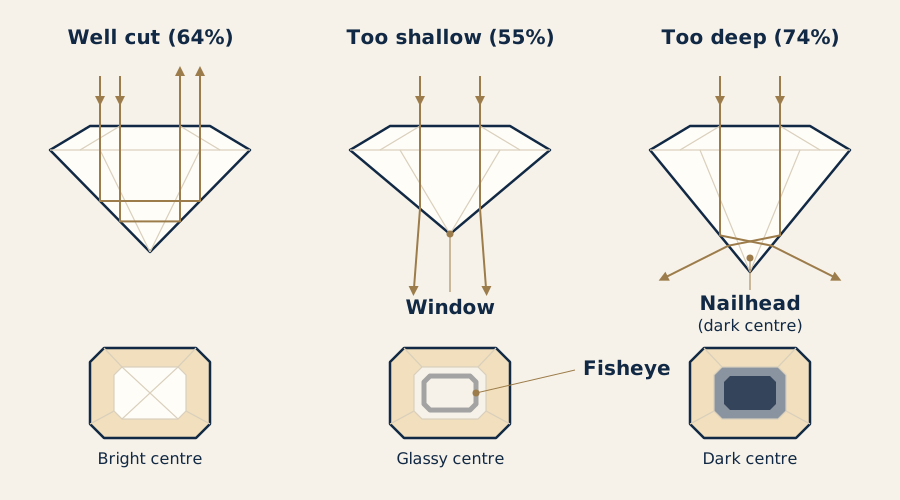
A radiant's mixed faceting makes it more forgiving than a step cut. Its many small facets scatter light and hide minor leakage, which is why a radiant can hide a slight window that would be obvious in an emerald cut with a similarly shallow pavilion. But that forgiveness has limits, and outside the chart ranges the faults become easy to see.
Not sure which one is right?
Send us the stones you are looking at and our gemologist will tell you which to choose and why.
How do you spot nailhead, fisheye and windows in photos and video?
Still photos are lit to flatter, so a 360° video under even light is far more useful. Watch the centre of the stone, then the corners and ends, as it turns.
| Fault | What you see | Usual cause | Report clue |
|---|---|---|---|
| Window | Washed-out, see-through centre | Shallow pavilion | Depth under about 60% |
| Fisheye | Grey or white ring inside the table | Very shallow pavilion | Depth under about 58% |
| Nailhead | Dark centre that stays dark | Pavilion too deep or steep | Depth over about 70–72% |
| Extinction | Black patches at corners or ends | Uneven or stretched facet angles | Often long ratios or deep stones |
| Bow-tie | Dark band across the middle | Elongated outline | Ratio above about 1.35 |
- Windows and fisheye: place the stone over printed text in your mind. If the centre looks like clear glass rather than a mosaic of light and dark, light is passing through.
- Nailhead: look for a dark centre that stays dark whichever way the stone tilts. Normal contrast moves; nailhead stays.
- Extinction: pause the video at several angles. Small dark flecks that swap places are fine. A black corner in every frame is not.
- Compare with the report: if you see a fault, check the depth. It almost always explains it.
What do ASET and Idealscope images show for a radiant?
Videos show the result; reflector images show the cause. Two tools are widely used: ASET (Angular Spectrum Evaluation Tool, developed by the American Gem Society) and the Idealscope. Both place the diamond under a coloured reflector so you can see where each part of the stone gathers its light from.
- Red (ASET): the brightest light, from high overhead. You want plenty, spread evenly across the stone.
- Green (ASET): less intense light from lower angles. Some is normal, especially near the edges.
- Blue (ASET): areas reflecting the viewer's head. This is contrast, which makes sparkle visible. A balanced scatter is good.
- Black or white: light leakage. Large black or white areas in the centre point to windows, fisheye or nailhead; at the corners they point to extinction.
- Idealscope: uses mainly red; red means light return and pale or white areas mean leakage.
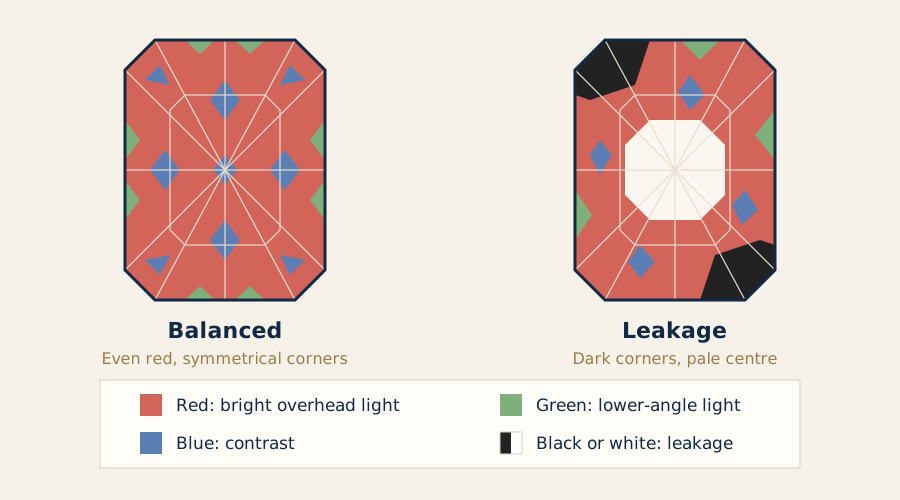
For a radiant, look for even colour across the centre and reasonably symmetrical patterns in the four corners. Perfect patterns are rare in fancy shapes, so judge balance rather than perfection. Ask the jeweller for an ASET or Idealscope image whenever you are comparing two stones with similar grades.
Related guidePrincess vs Radiant Cut DiamondsWhich diamond shapes are most prone to these light faults?
Every shape has its own weak spot, so the ideal numbers change from shape to shape. This comparison shows where the radiant sits.
| Shape | Typical ideal depth | Most common fault |
|---|---|---|
| Radiant | 61–67% | Dark corners; nailhead when deep |
| Cushion | 61–68% | Windows when shallow; crushed-ice blur when deep |
| Oval | 58–63% | Bow-tie |
| Pear | 58–64% | Bow-tie; dark point |
| Emerald cut | 61–68% | Windows (step cuts hide leakage poorly) |
| Princess | 68–75% | Dark corners; chipped points |
The radiant and the cushion are close relatives, both mixed brilliant cuts that often run deep; see our cushion diamond proportions chart and the side-by-side radiant and cushion comparison. Elongated brilliants carry the most bow-tie risk, set out in the oval diamond proportions numbers and the pear diamond proportions chart.
Step cuts are the opposite of radiants: open, mirror-like facets that show any window plainly. Our emerald cut proportions guide and the emerald versus radiant comparison explain why the same depth can suit one and spoil the other. The princess runs deeper than a radiant by design, which our princess and radiant differences page covers.
Do proportions change the price of a natural or lab-grown radiant?
Radiants are cut from both natural and laboratory-grown diamond. Both are real diamond, with the same hardness and refractive index, so the proportion rules in this guide apply equally to each. Lab-grown radiants cost much less and are easy to find in larger sizes; natural radiants are rarer. Either should come with an independent grading report that states whether it is natural or lab-grown.
As a rough guide, a 1 carat G–H, VS radiant ranges from about AUD $1,000–$3,000 lab-grown and about AUD $6,000–$14,000 natural. These are broad ranges only, and prices move with the market.
Proportions affect value in a quieter way. Price is set mostly per carat, so a radiant at 72% depth costs about the same as one at 64%, yet faces up smaller and is more likely to show a dark centre. In practice, a well-proportioned radiant gives you more visible size and brightness for the same budget. Many natural radiants are cut deep to keep weight from the rough crystal, so the chart is especially useful when comparing natural stones.
Shop radiant diamonds: natural and lab-grown
How do you check a radiant diamond's proportions? Step by step
- Read the report. Confirm the shape, measurements, polish, symmetry and whether the diamond is natural or lab-grown.
- Check total depth. Aim for about 61–67%; be cautious below 58% or above 72%.
- Check the table. Look for about 61–69% of the width, and read it together with the depth.
- Work out the ratio. Divide length by width: 1.00–1.05 for square, 1.20–1.35 for a classic rectangle.
- Check girdle and culet. Thin to slightly thick girdle, culet none or very small.
- Watch a 360° video. Look for a glassy centre, a grey ring, a dark centre or corners that stay black.
- Ask for an ASET or Idealscope image. Look for even red across the centre and balanced corners.
- Compare face-up size. Use the millimetre measurements, not just the carat weight, when choosing between stones.
Free consultation
Talk to a gemologist
Compare stones in person or online with Raj Sood, Graduate Gemologist (GIA), AJP (GIA).
Book a consultationFAQ
Common questions
What is the ideal depth for a radiant cut diamond?
Most well-cut radiants sit at a total depth of about 61–67%. Below about 58% they tend to show windows or fisheye, and above about 72% they often look dark in the centre and face up smaller.
What is the ideal table percentage for a radiant?
About 61–69% of the width. A larger table adds brightness but usually lowers the crown and reduces fire, so always read the table together with the depth.
What is a nailhead in a radiant diamond?
A nailhead is a dark centre caused by a pavilion that is too deep or steep, so light leaks out the sides instead of returning through the top. It stays dark as the stone moves, unlike normal contrast.
What does fisheye mean in a diamond?
Fisheye is a greyish-white ring or rectangle visible inside the table. It is the girdle reflecting through a very shallow pavilion, and it makes the centre look washed out.
Does GIA give radiant diamonds a cut grade?
No. GIA grades cut only for round brilliants; for radiants it grades polish and symmetry. You judge a radiant's cut from its proportions, a video and a reflector image such as ASET.
Do lab-grown radiants need the same proportions as natural ones?
Yes. Lab-grown and natural diamond share the same refractive index, so light behaves the same way and the same proportion ranges apply to both.

Ask a gemologist
Not sure which diamond to choose?
Raj Sood is a Graduate Gemologist (GIA) and master jeweller. Bring the stones you are considering, or send the reports, and he will tell you honestly which one is better and why.
Keep learning
Related guides
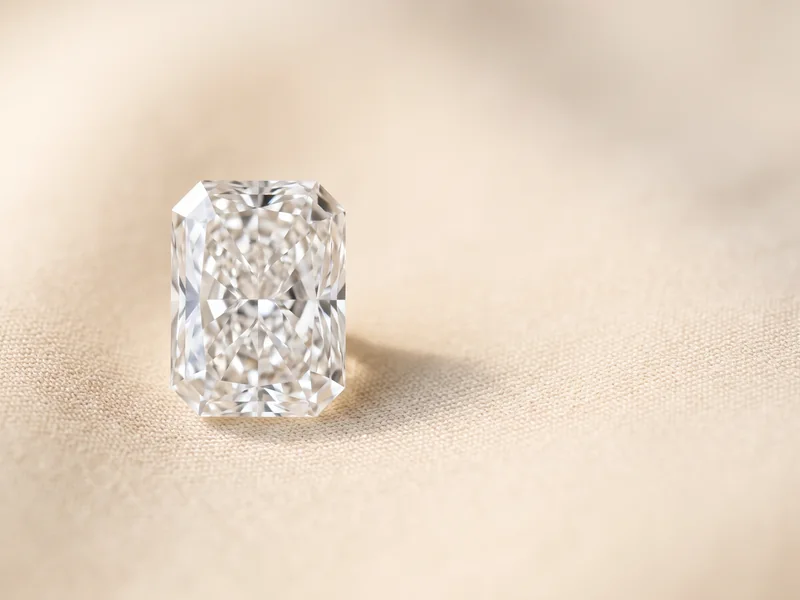 Diamond ShapesRadiant Cut DiamondsDiamond ShapesRadiant Diamond Length-to-Width Ratio GuideDiamond ShapesRadiant Diamond Crushed-Ice vs Brilliant Facet Patterns
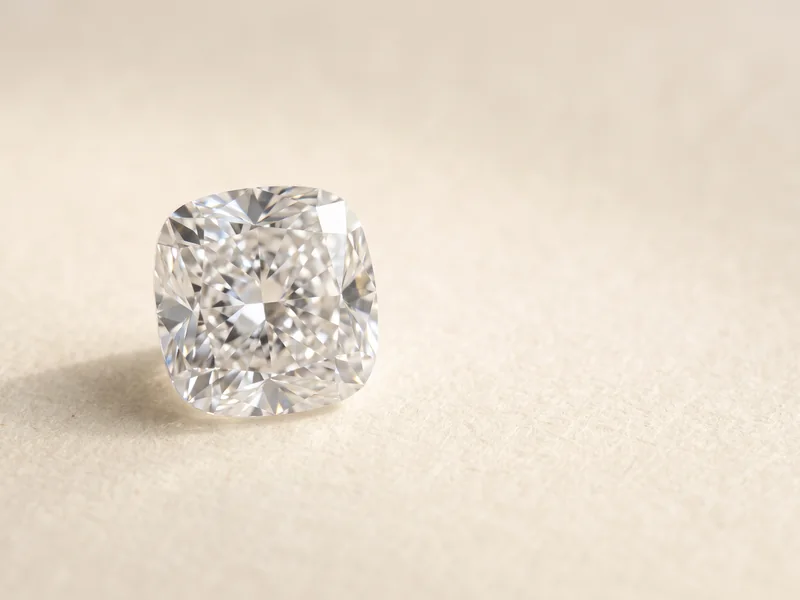 Diamond Anatomy & LightIdeal Proportions Chart: Cushion DiamondsDiamond Anatomy & LightAnatomy of a diamond: table, crown, girdle, pavilion and culet explained
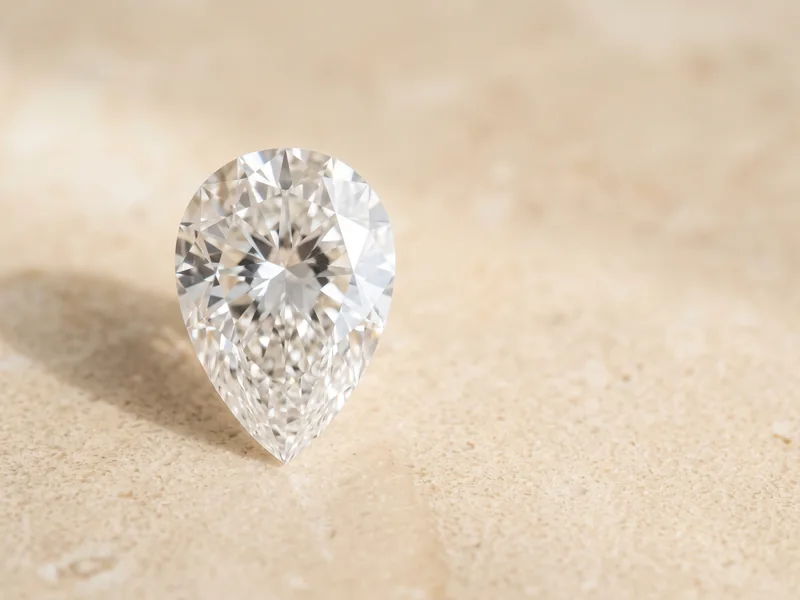 Diamond Anatomy & LightIdeal Proportions Chart: Pear Diamonds
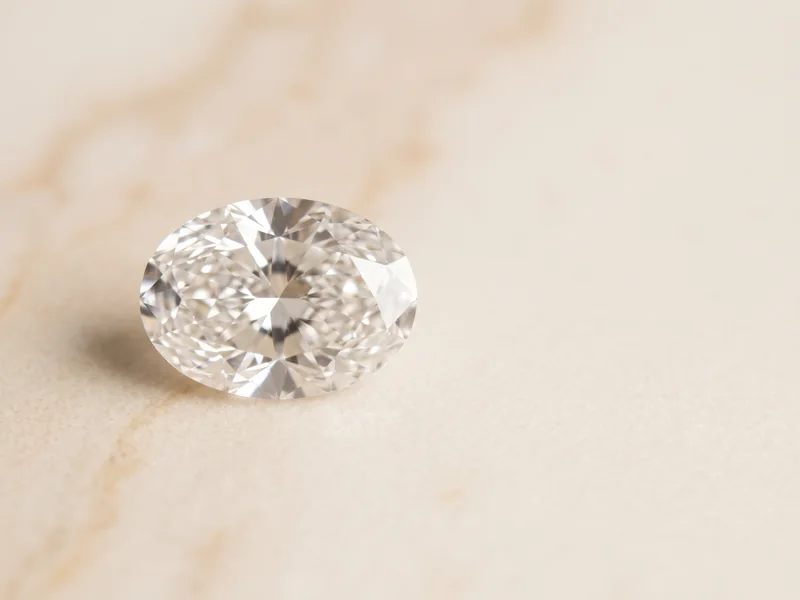 Diamond Anatomy & LightIdeal Proportions Chart: Oval Diamonds
 Diamond Anatomy & LightIdeal Proportions Chart: Emerald Cut Diamonds
Explore more
More guides on this topic
Education